The most asked question on my Instagram page is how I take my photos. What lighting I use, what camera etc. I’m no experts when it comes to photography. Since I started my blog I’m trying to improve my photography skills so I’m still learning. But with trial and error I’ve found some tricks that work for me.
Lighting
If you ask a professional photographer what’s the most important thing about taking a good picture, everyone will say that it’s the lighting. Lighting makes such a difference with photos, and natural lighting is the best when it comes to product shots.
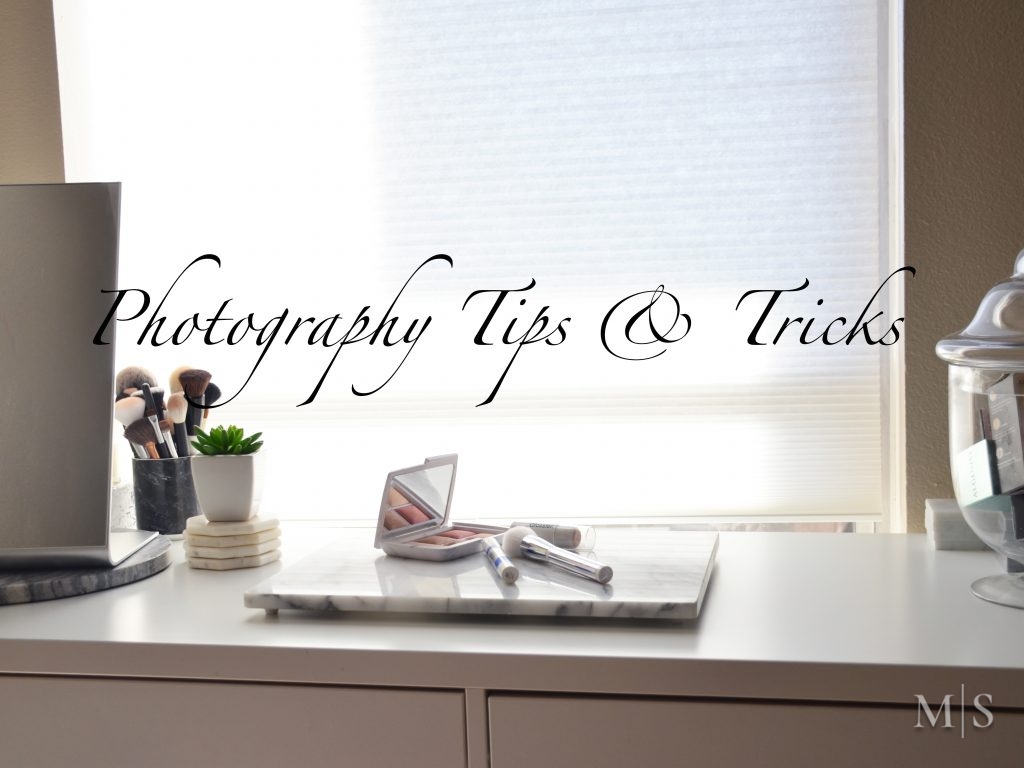
This is my setup for the photos that I take for my blog and Instagram page. As you can see I shoot next to a big window which brings plenty of lighting in the room. When it’s too sunny I have these white blinds that block the direct sunlight but still let light in to the room.
I prefer my photos to be on the cooler side so blocking the sun does the job. If I open the blinds I will get warmer toned photos but also have to deal with shadows.
Since we’re in the fall/winter time, cloudy days make for perfect photos. When it’s an overcast not only you get sharper images, the photos are with cool tones. For cloudy days I open the blinds and get the most light and best photos.
My advice is to find a spot where you get the most light. It’s best if you have a big window or a sliding door and shoot next to it but if you live in a house you can also open the door and take pictures there.
Photography Equipment & Setting
I use a Nikon D5000 with a 18-140 mm lens. I always shoot in Manual setting so I have control over the aperture and shutter speed.
I also have my ISO set to a lower number, I always shoot in 200. If you don’t know what ISO stands for, it’s the level of sensitivity of the camera for the available light. The lower the ISO, the less sensitive it is to light.
You would think that setting your ISO on a higher number would be the best answer but it isn’t. The bigger the ISO number, the more noise your photo has. That means, the photo that you will take with a higher ISO will be of less quality than the one you take with a lower ISO. And that’s why I shoot with ISO 200. I get the most clear and sharp images on that setting. Everything above ISO 300 is of less quality.
You can adjust the Shutter Speed on Manual setting to your liking. When shooting with such a low ISO I adjust the Shutter Speed on lower setting if I don’t get a lot of light. If I do get plenty of light I always go higher than 1/300. It’s a process of trying different settings and taking as much photos before you get the perfect one.
For the Aperture, I keep it either on f/4 or f/5. With Aperture you control the camera hole, the larger the hole, the more light gets in, the smaller the hole, the less light you get. With Aperture you can also control the depth of an image. If you have a wider setup you can focus on one thing in the photo that you want to stand out and get a cool looking blurry background with the rest.
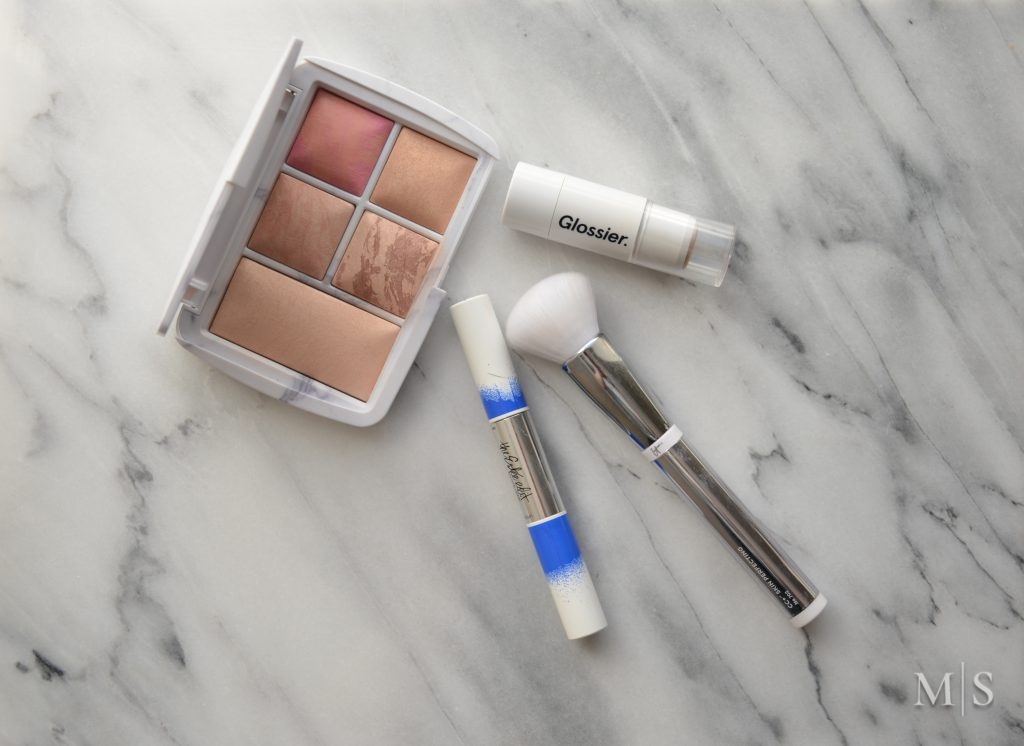
Unedited Image
Editing
I always edit my photos. There are rare times that I will take the perfect picture but most of the time I need to adjust the brightness, tone and contrast. I use Photoshop for cropping and all the adjustments that I make.
I’m no expert when it comes to Photoshop but I did learn the basics that I need to make simple tweaks to a photo. For Instagram photos I sometimes use their adjustments because you get all the tools in the app itself.
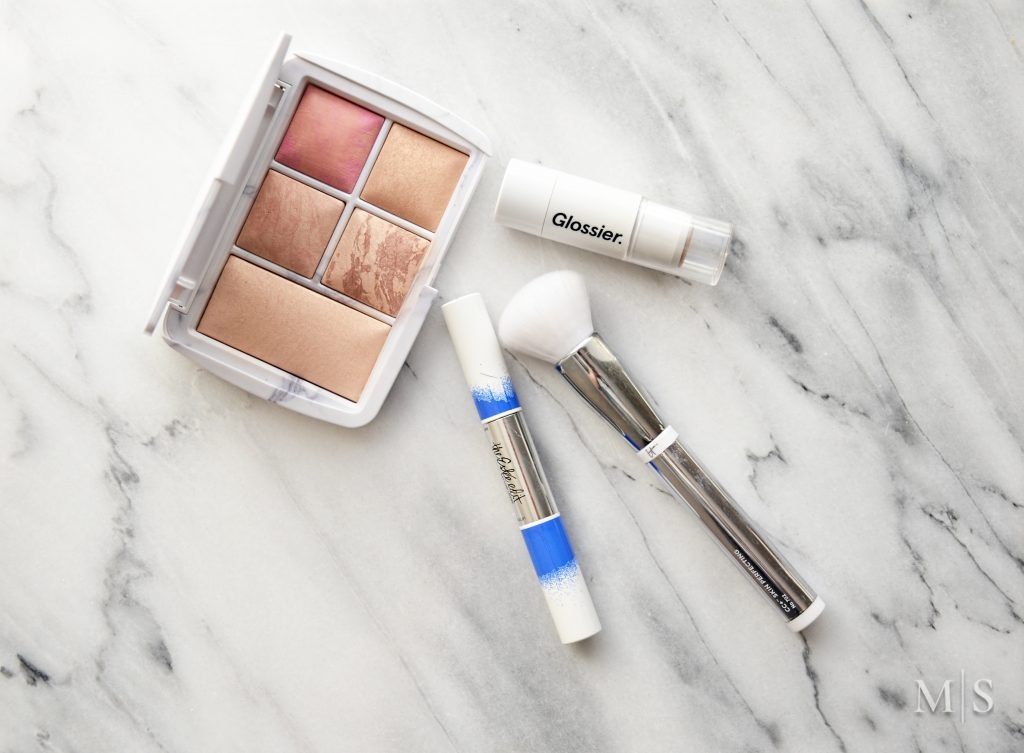
Edited Image ( I corrected the brightness and added a little more contrast to the photo)
I hope this post will help a lot of people who are just starting with blog photography. I know it can get confusing if you’re using a DSLR Camera for the first time of what setting to choose. You can always start with the Automatic setting and then switch to Manual when you feel more comfortable. Every image I take is not perfect, I take probably around 50-60 photos of one setting and then go and choose the best one. Don’t be afraid to take as many photos as you can.